How Stone Veneer Is Installed: The 4 Layers Behind the Wall
From the bare wall to the finished stone: the four layers of a stone veneer installation and why each one matters for a wall that lasts.
A stone veneer wall looks like solid stone, but most of the work you never see. Behind every finished wall there are four layers, and each one has a job. Knowing them helps you understand a quote and ask the right questions.
Layer 1: The wall
Stone veneer goes over concrete block, brick or framed walls with sheathing. Whatever it is, the wall has to be solid, clean and flat. Loose paint, crumbling block or a wall that is out of plumb get fixed before anything else.
Layer 2: Weather barrier and metal lath
On framed walls, a water-resistant barrier goes on first to keep moisture out of the structure. Over it, galvanized metal lath is fastened to the wall. The lath is what gives the mortar something to grip. On clean, bare masonry this layer can change, and your installer will tell you what your wall needs.
Layer 3: Scratch coat
A first coat of mortar covers the lath. While it is still fresh, it is scored with horizontal grooves, which is where the name comes from. Those grooves help the stone bond to the wall.
Layer 4: The stone
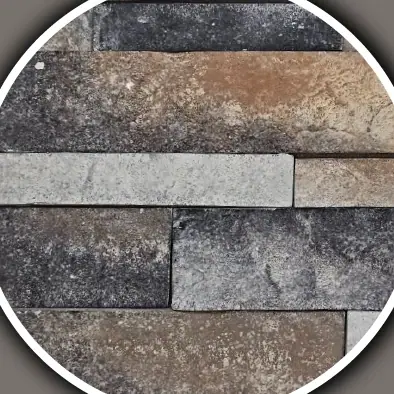
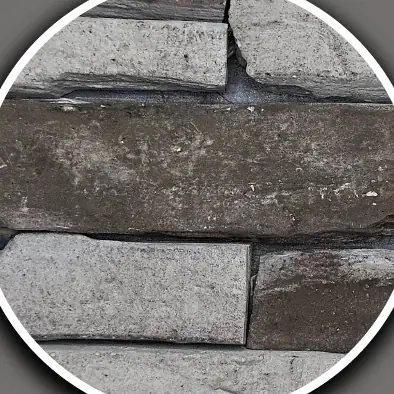
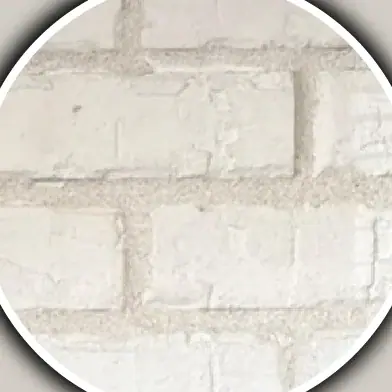
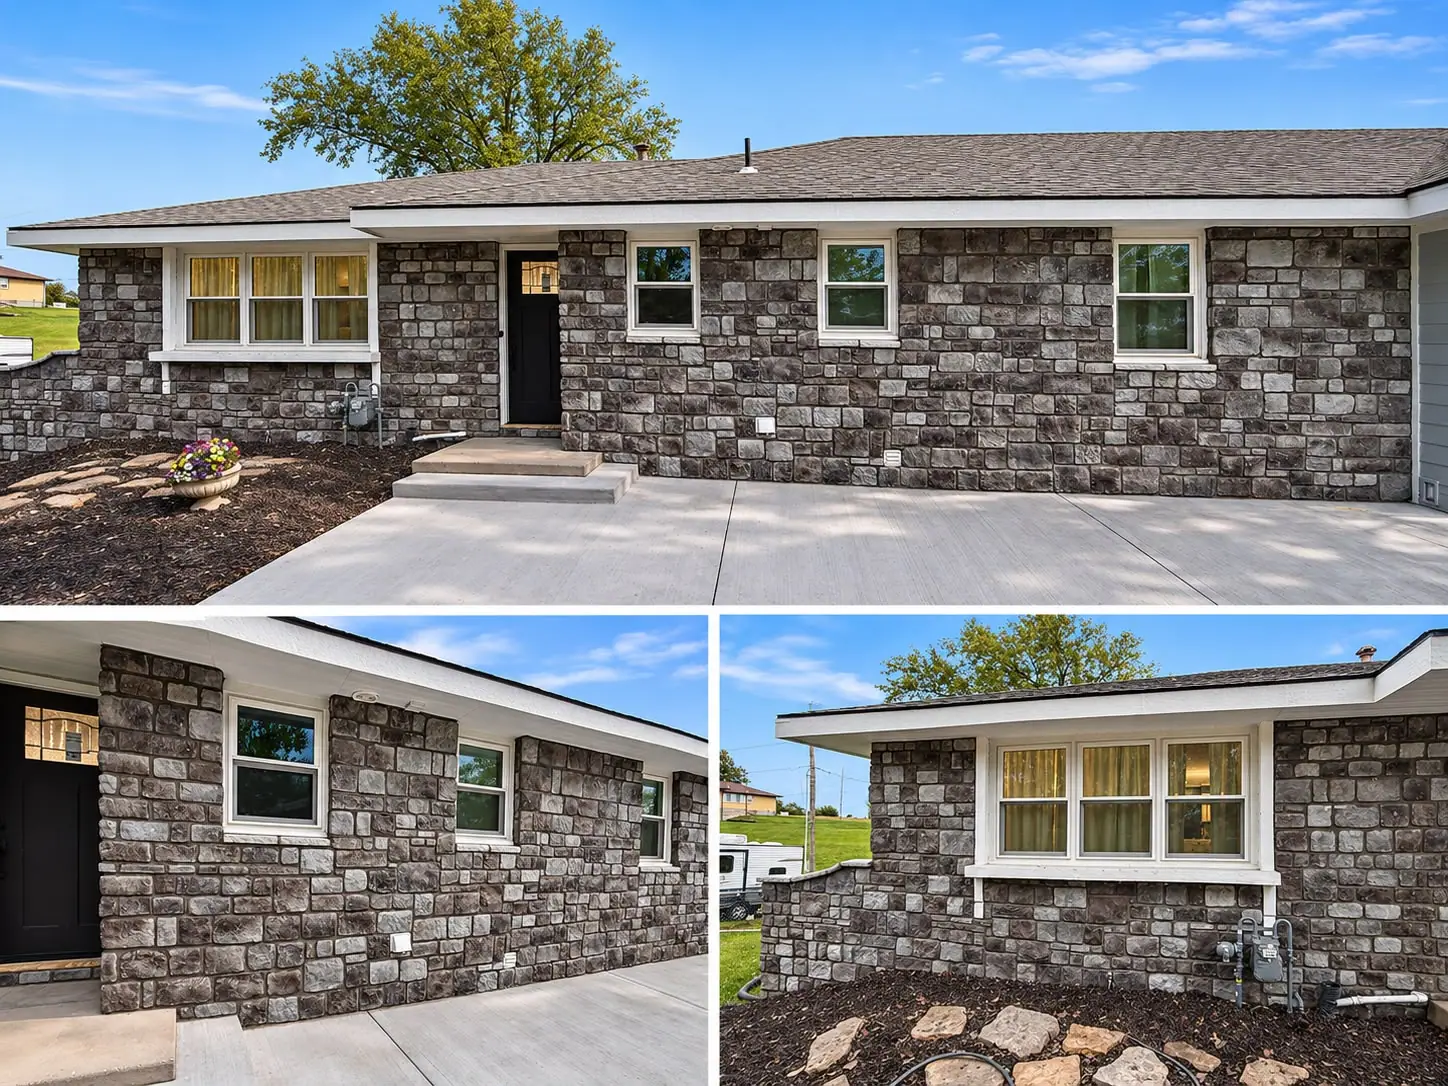
Each stone is buttered with mortar on the back and pressed into place, working so the pieces fit together like the pattern of the style. Then the joints are finished: tight and almost invisible on stacked styles like ledge stone, or with visible mortar joints on styles like field stone and thin brick.
Why it matters
- With proper installation, our stone is very durable in harsh weather.
- The color is covered by a 25-year warranty against fading.
- Stone weighs about 7 lb per square foot, so the wall and the lath have to be right for it.
Our masons install up to 700 miles from Kansas City, usually one or two weeks after approval. See the layers come together in the How it’s installed section of our home page, or ask for a free installation quote.